
Quick Start
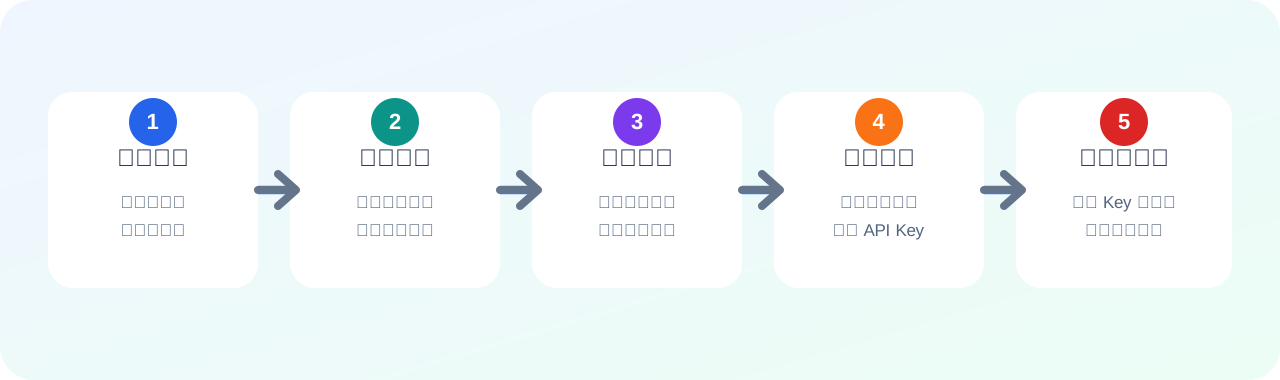
Follow this order: register or sign in, check the balance, choose a model, create an API key, and configure your client.
Flow Overview
- Sign in to Jingxu AI.
- Check the current wallet balance.
- Choose a model in the model marketplace.
- Create an API key for the intended scenario.
- Configure the Base URL, API key, and model in the client.
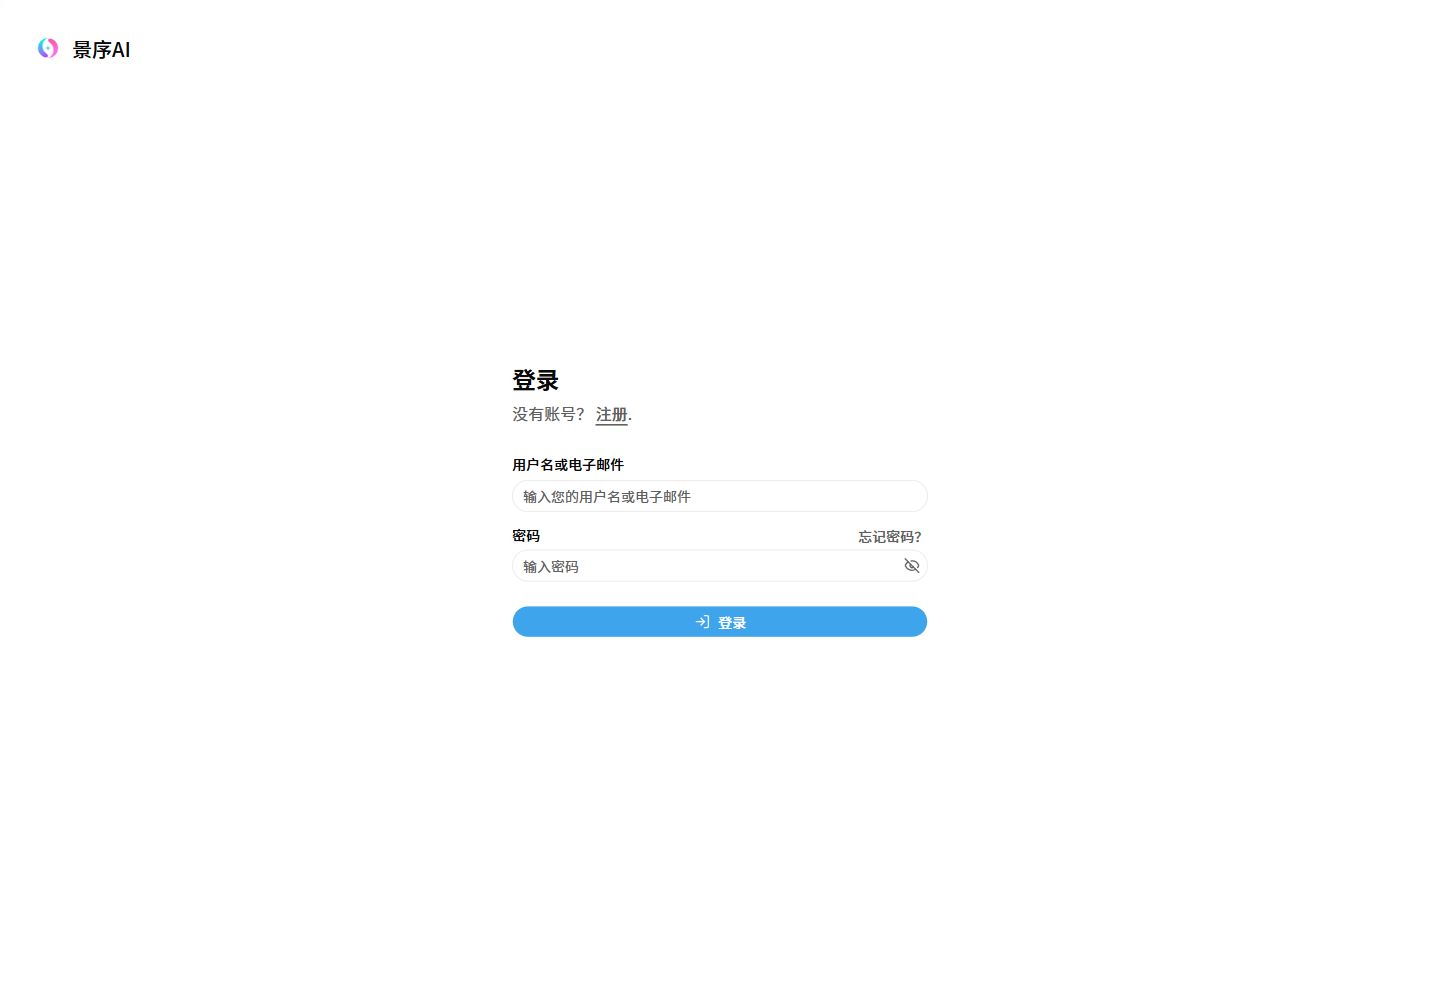
Step 1: Register or Sign In
Existing users can open the sign-in page. New users can create an account on the sign-up page.
Step 2: Check the Balance
Open the wallet to view the current balance, total usage, and API request count.
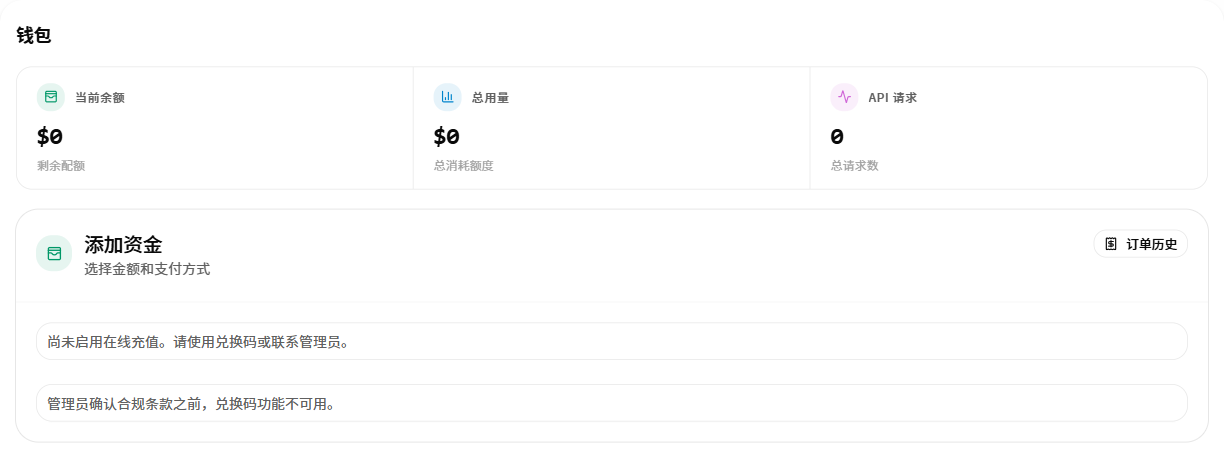
When the balance is insufficient, use the method currently shown under “Add Funds”. If online recharge is unavailable, follow the page prompt for redemption or administrator assistance.
Step 3: Choose a Model
Open the model marketplace and confirm the model, price, and intended use before creating a key.
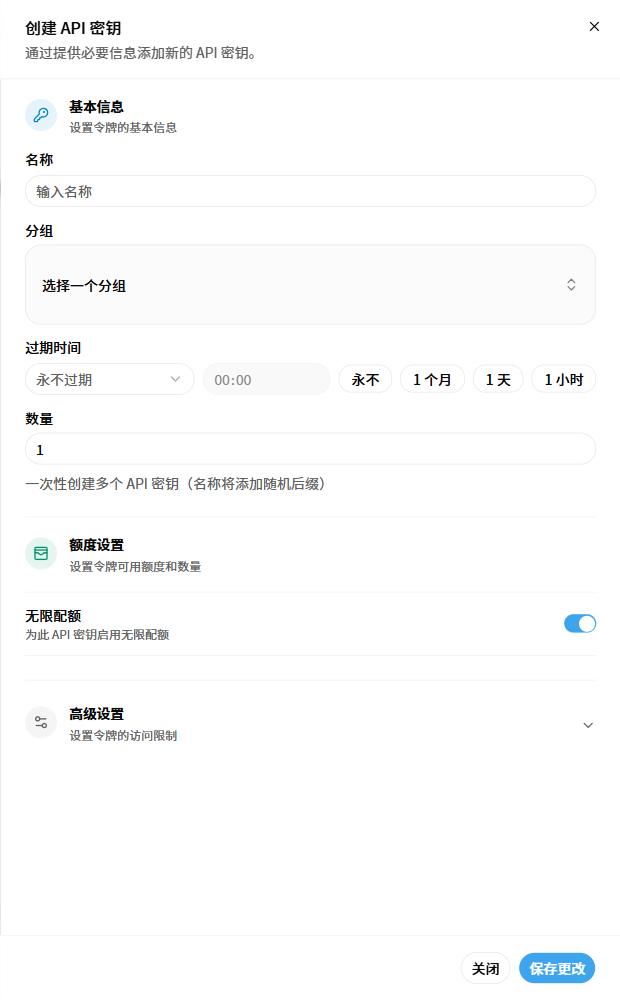
Step 4: Create an API Key
Open API Keys, click “Create API Key”, and configure its name, group, expiration, quantity, quota, and optional advanced restrictions.
Keep the key private
A complete API key is a credential. Never include it in public documentation, screenshots, or chat messages.
Step 5: Configure the Client
OpenAI-compatible clients normally use:
https://www.jingxutoken.cn/v1Claude-compatible clients normally use the site root without manually appending /v1:
https://www.jingxutoken.cnThen enter the API key and the model name shown in the marketplace. See Client Guides for client-specific steps.
curl Verification
Replace PASTE_YOUR_API_KEY with your own key:
curl https://www.jingxutoken.cn/v1/models \
  -H "Authorization: Bearer PASTE_YOUR_API_KEY"